
DIY Customer Installation
In this post, we share a number of images shared by one of our customers (Thank-you Graham) which step through his installation.
It all starts with solid foundations

The hard work starts
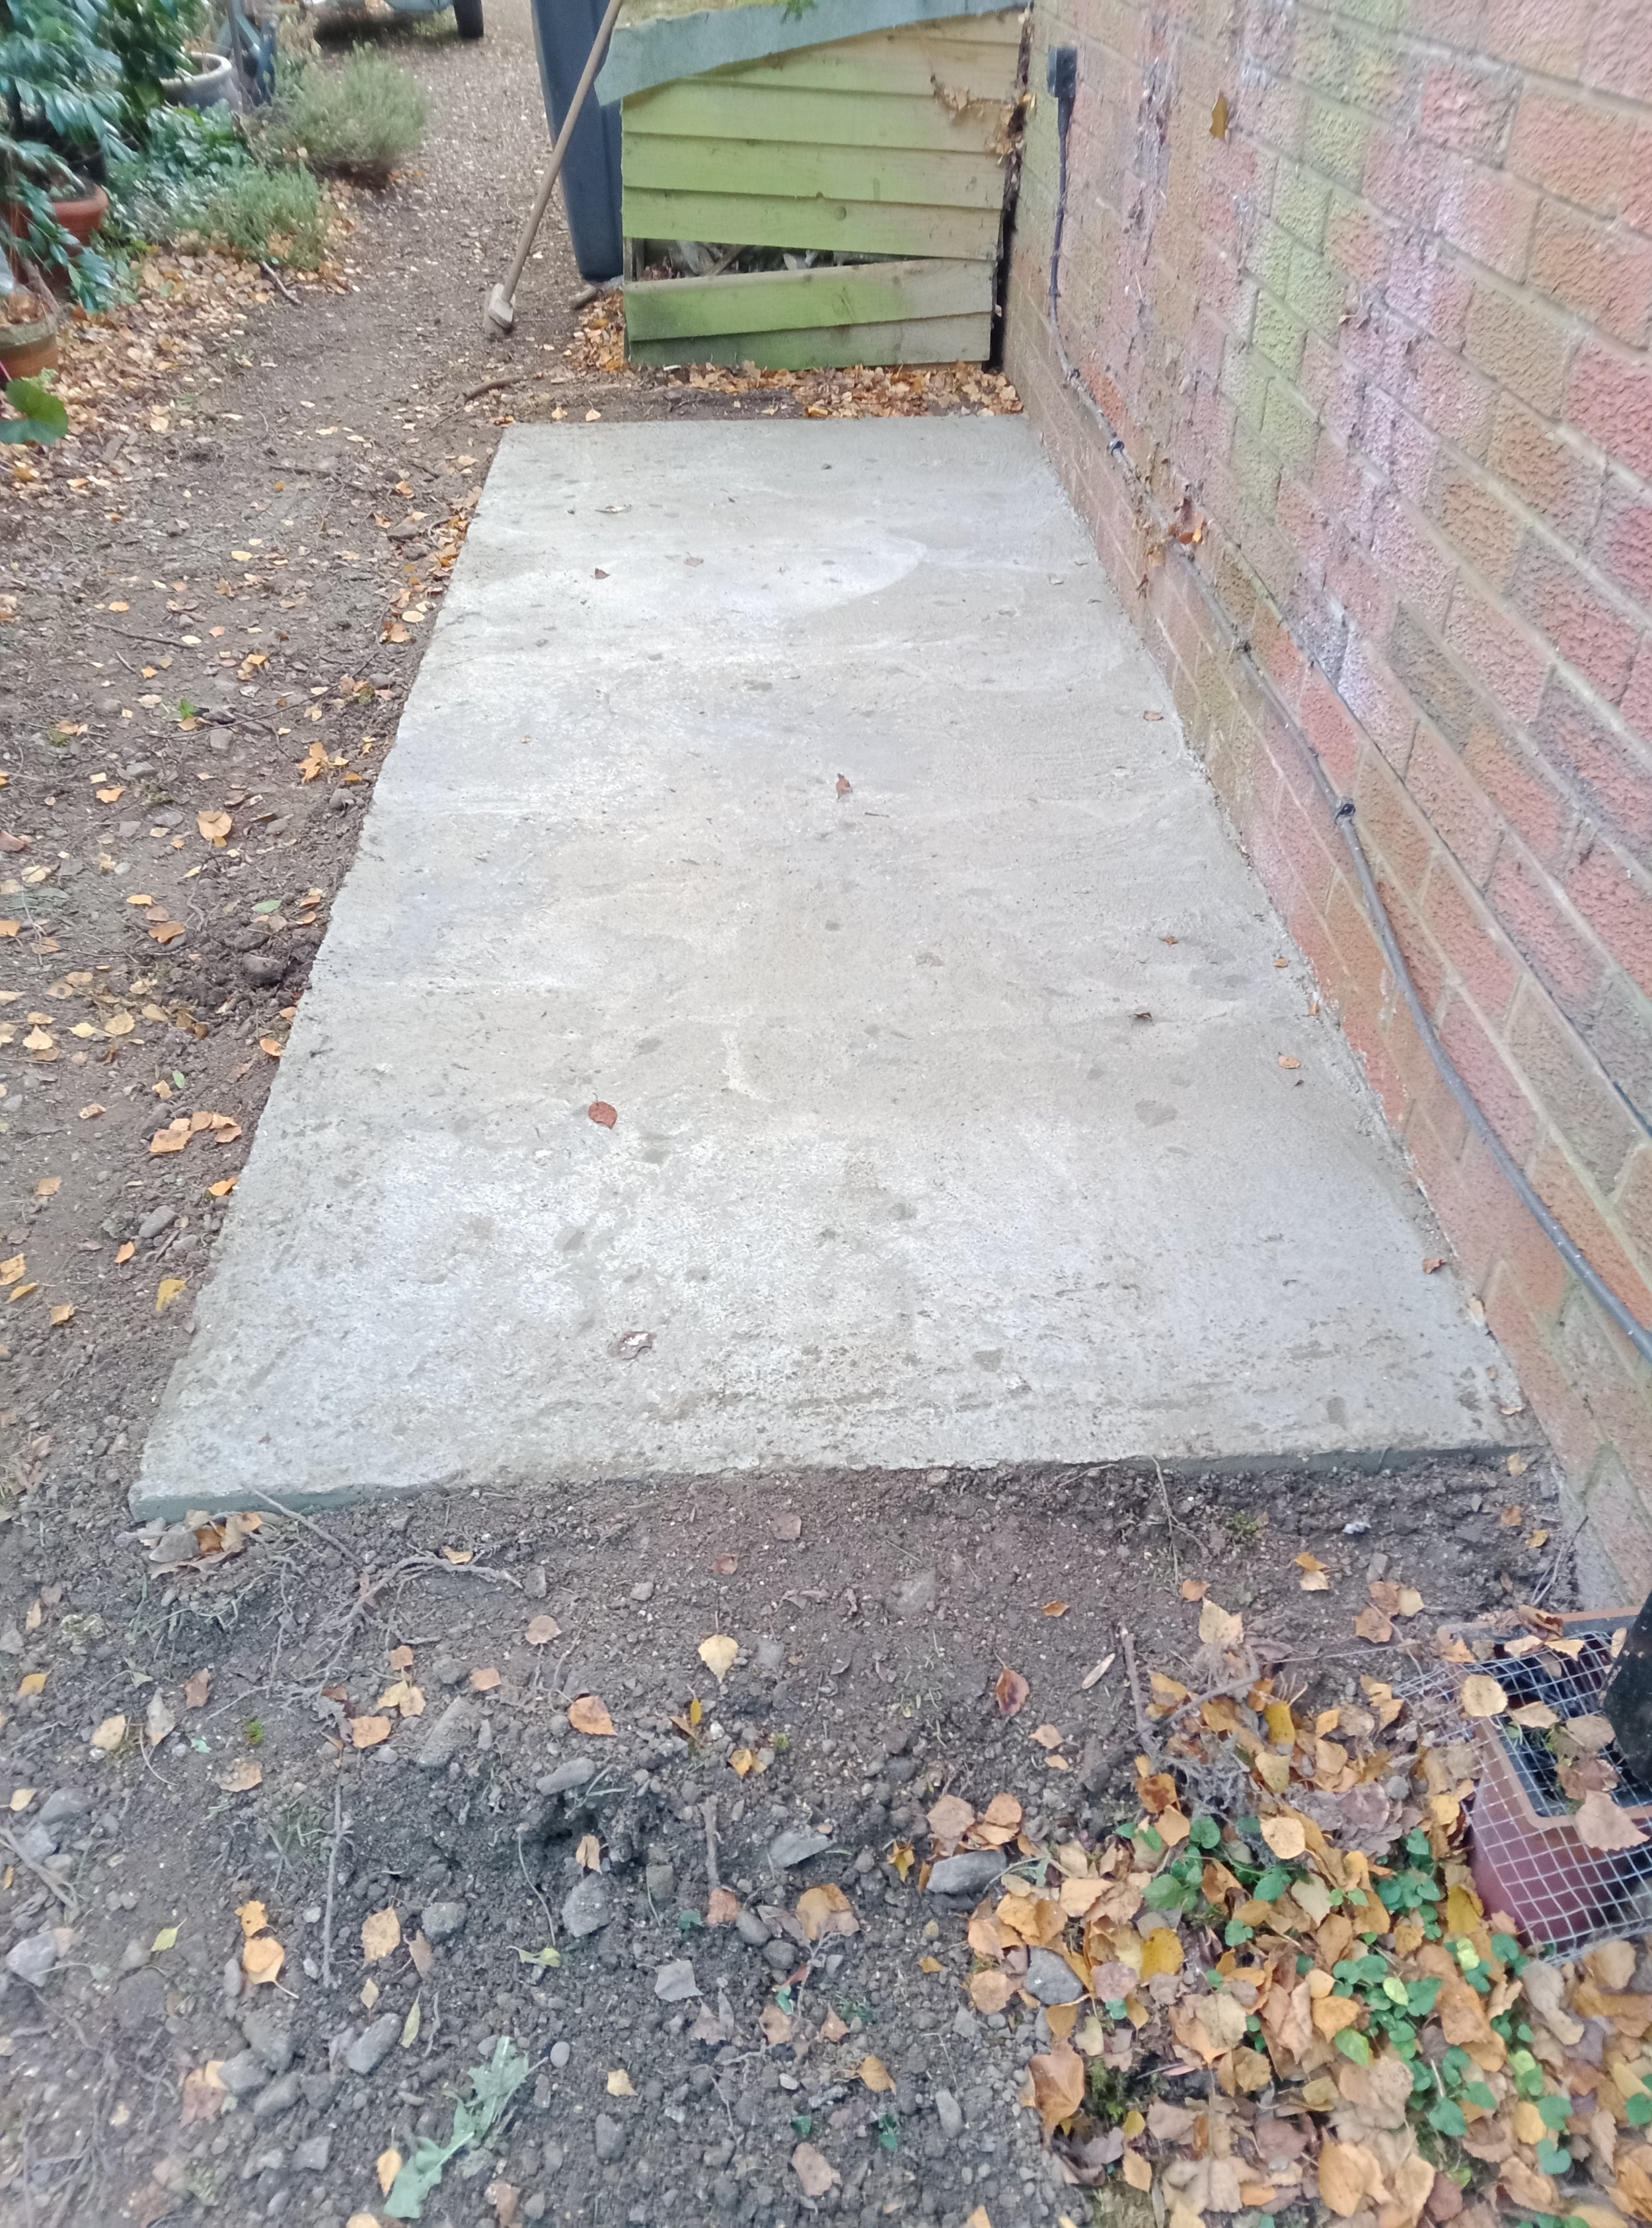
Concrete pad down
Finishing of the concrete padding with a professional finish
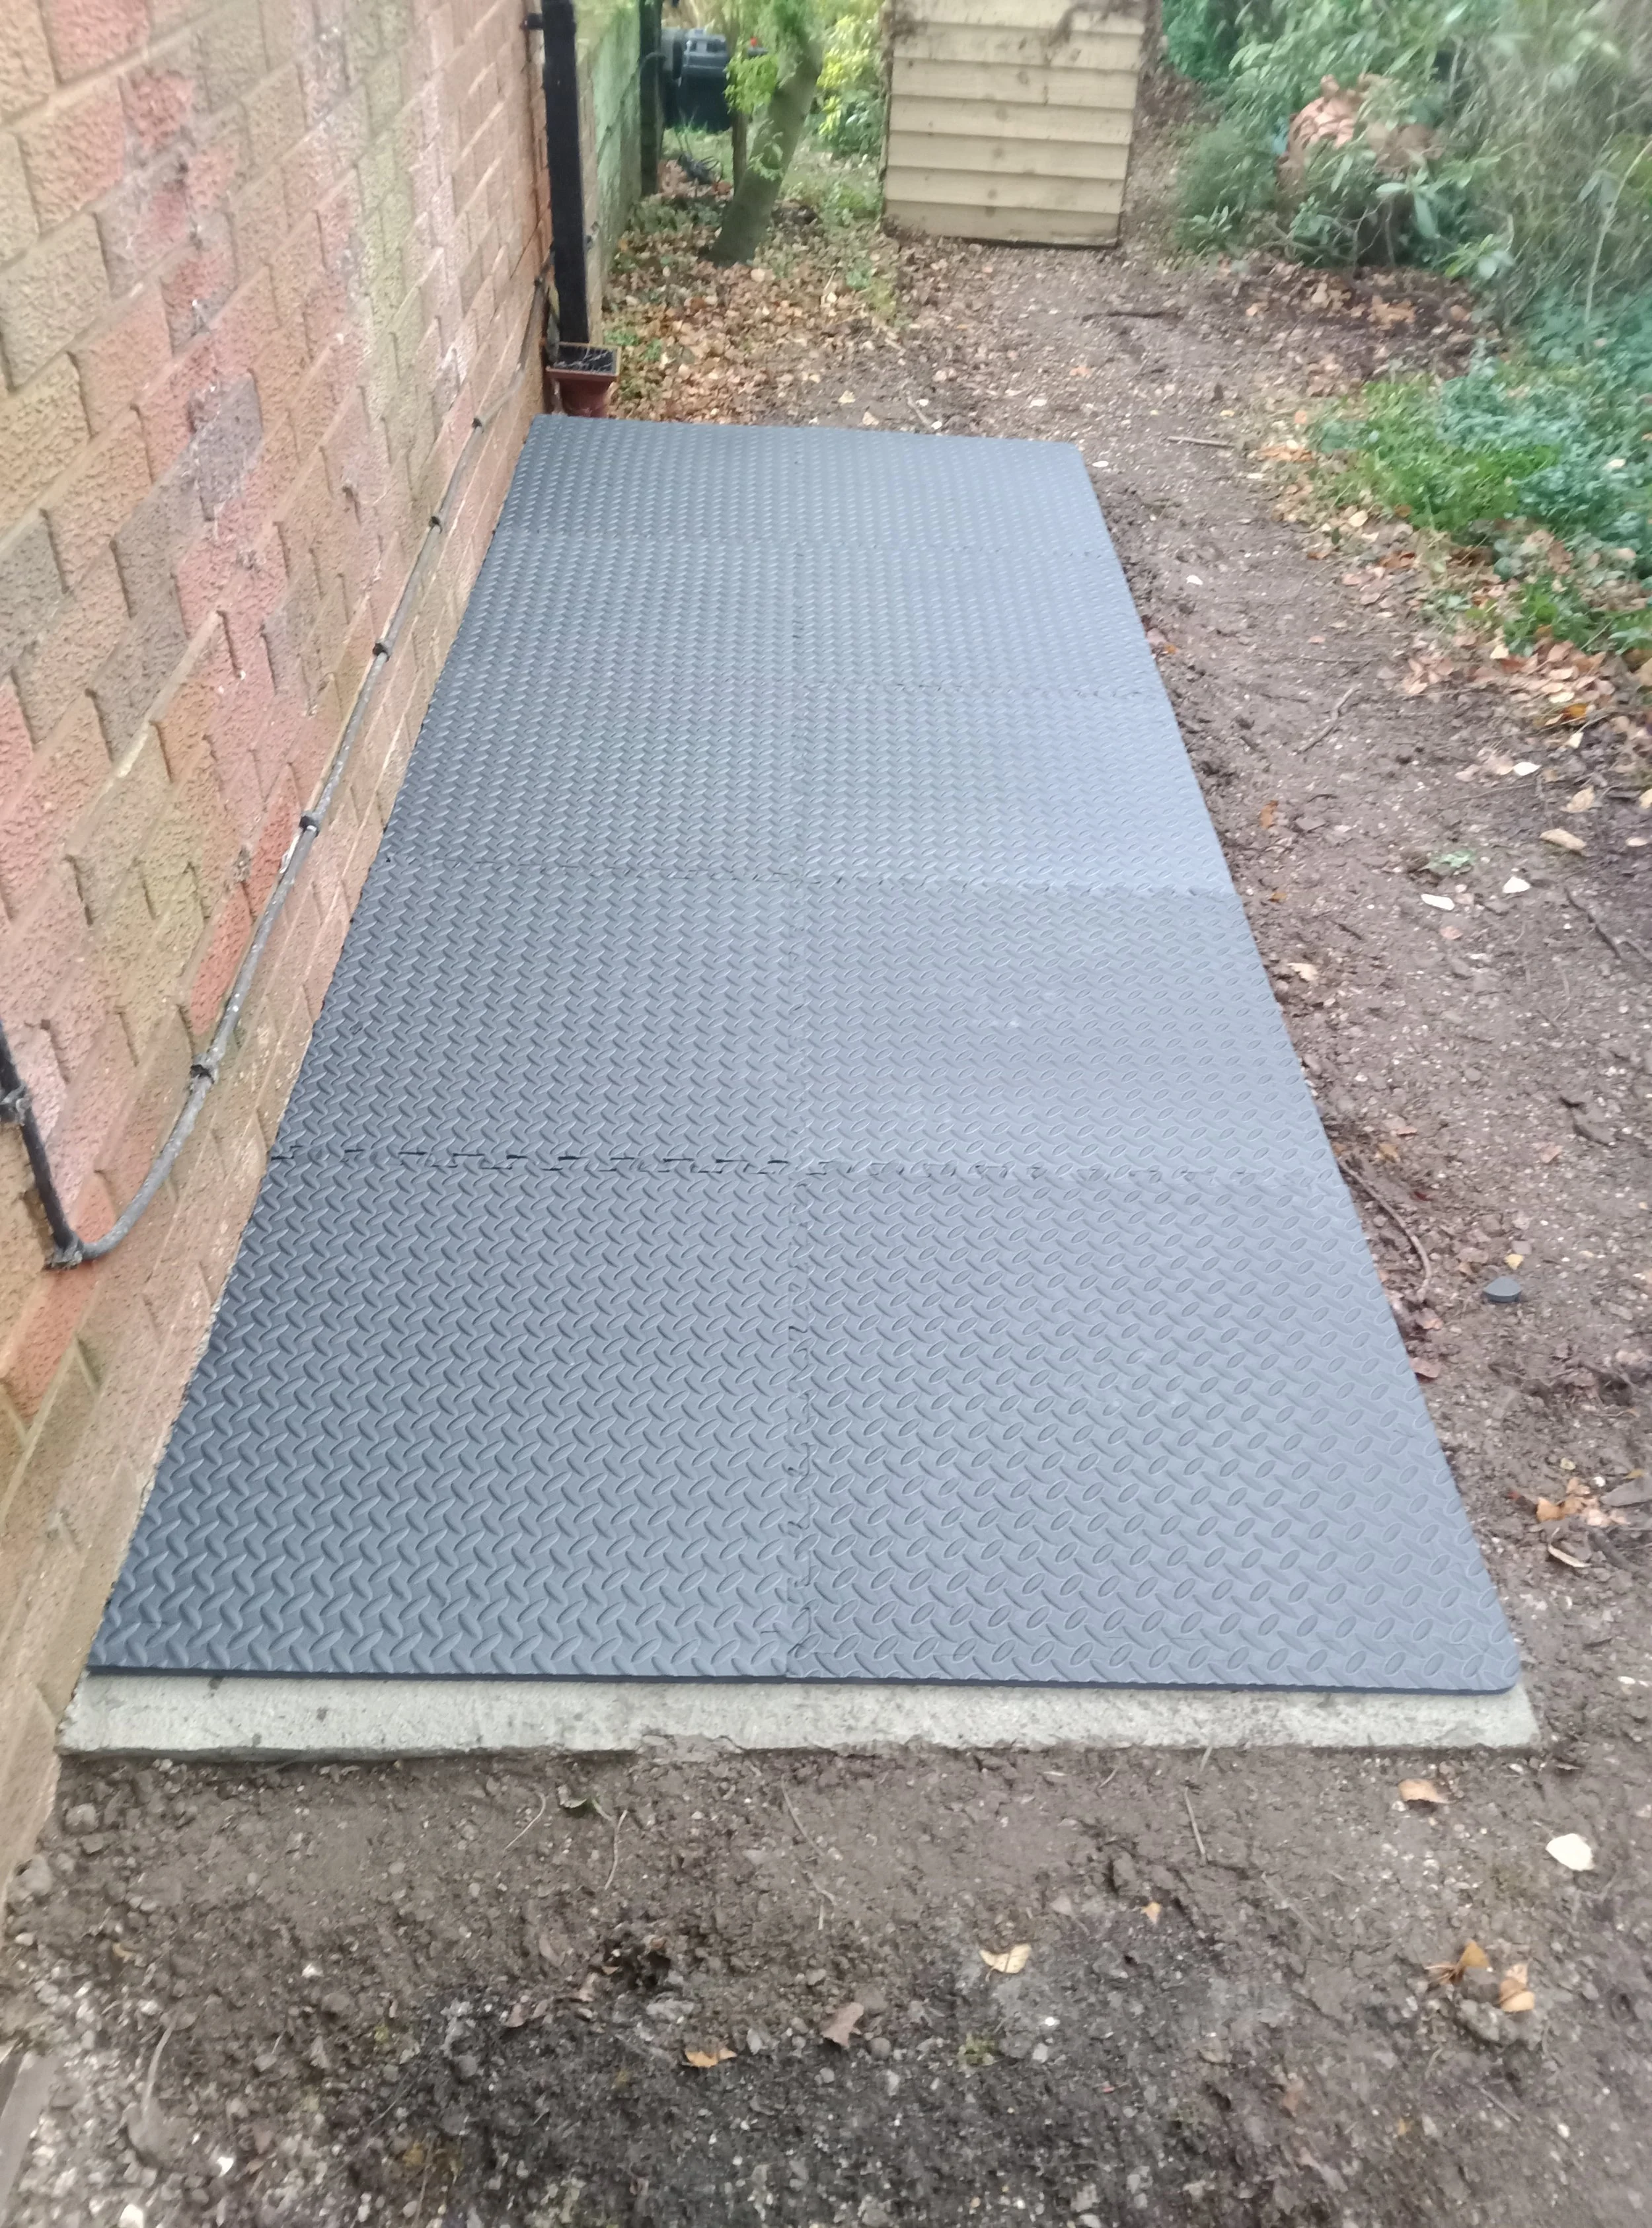
When 2000Lts are not enough, install two ThinTanks side-by-side

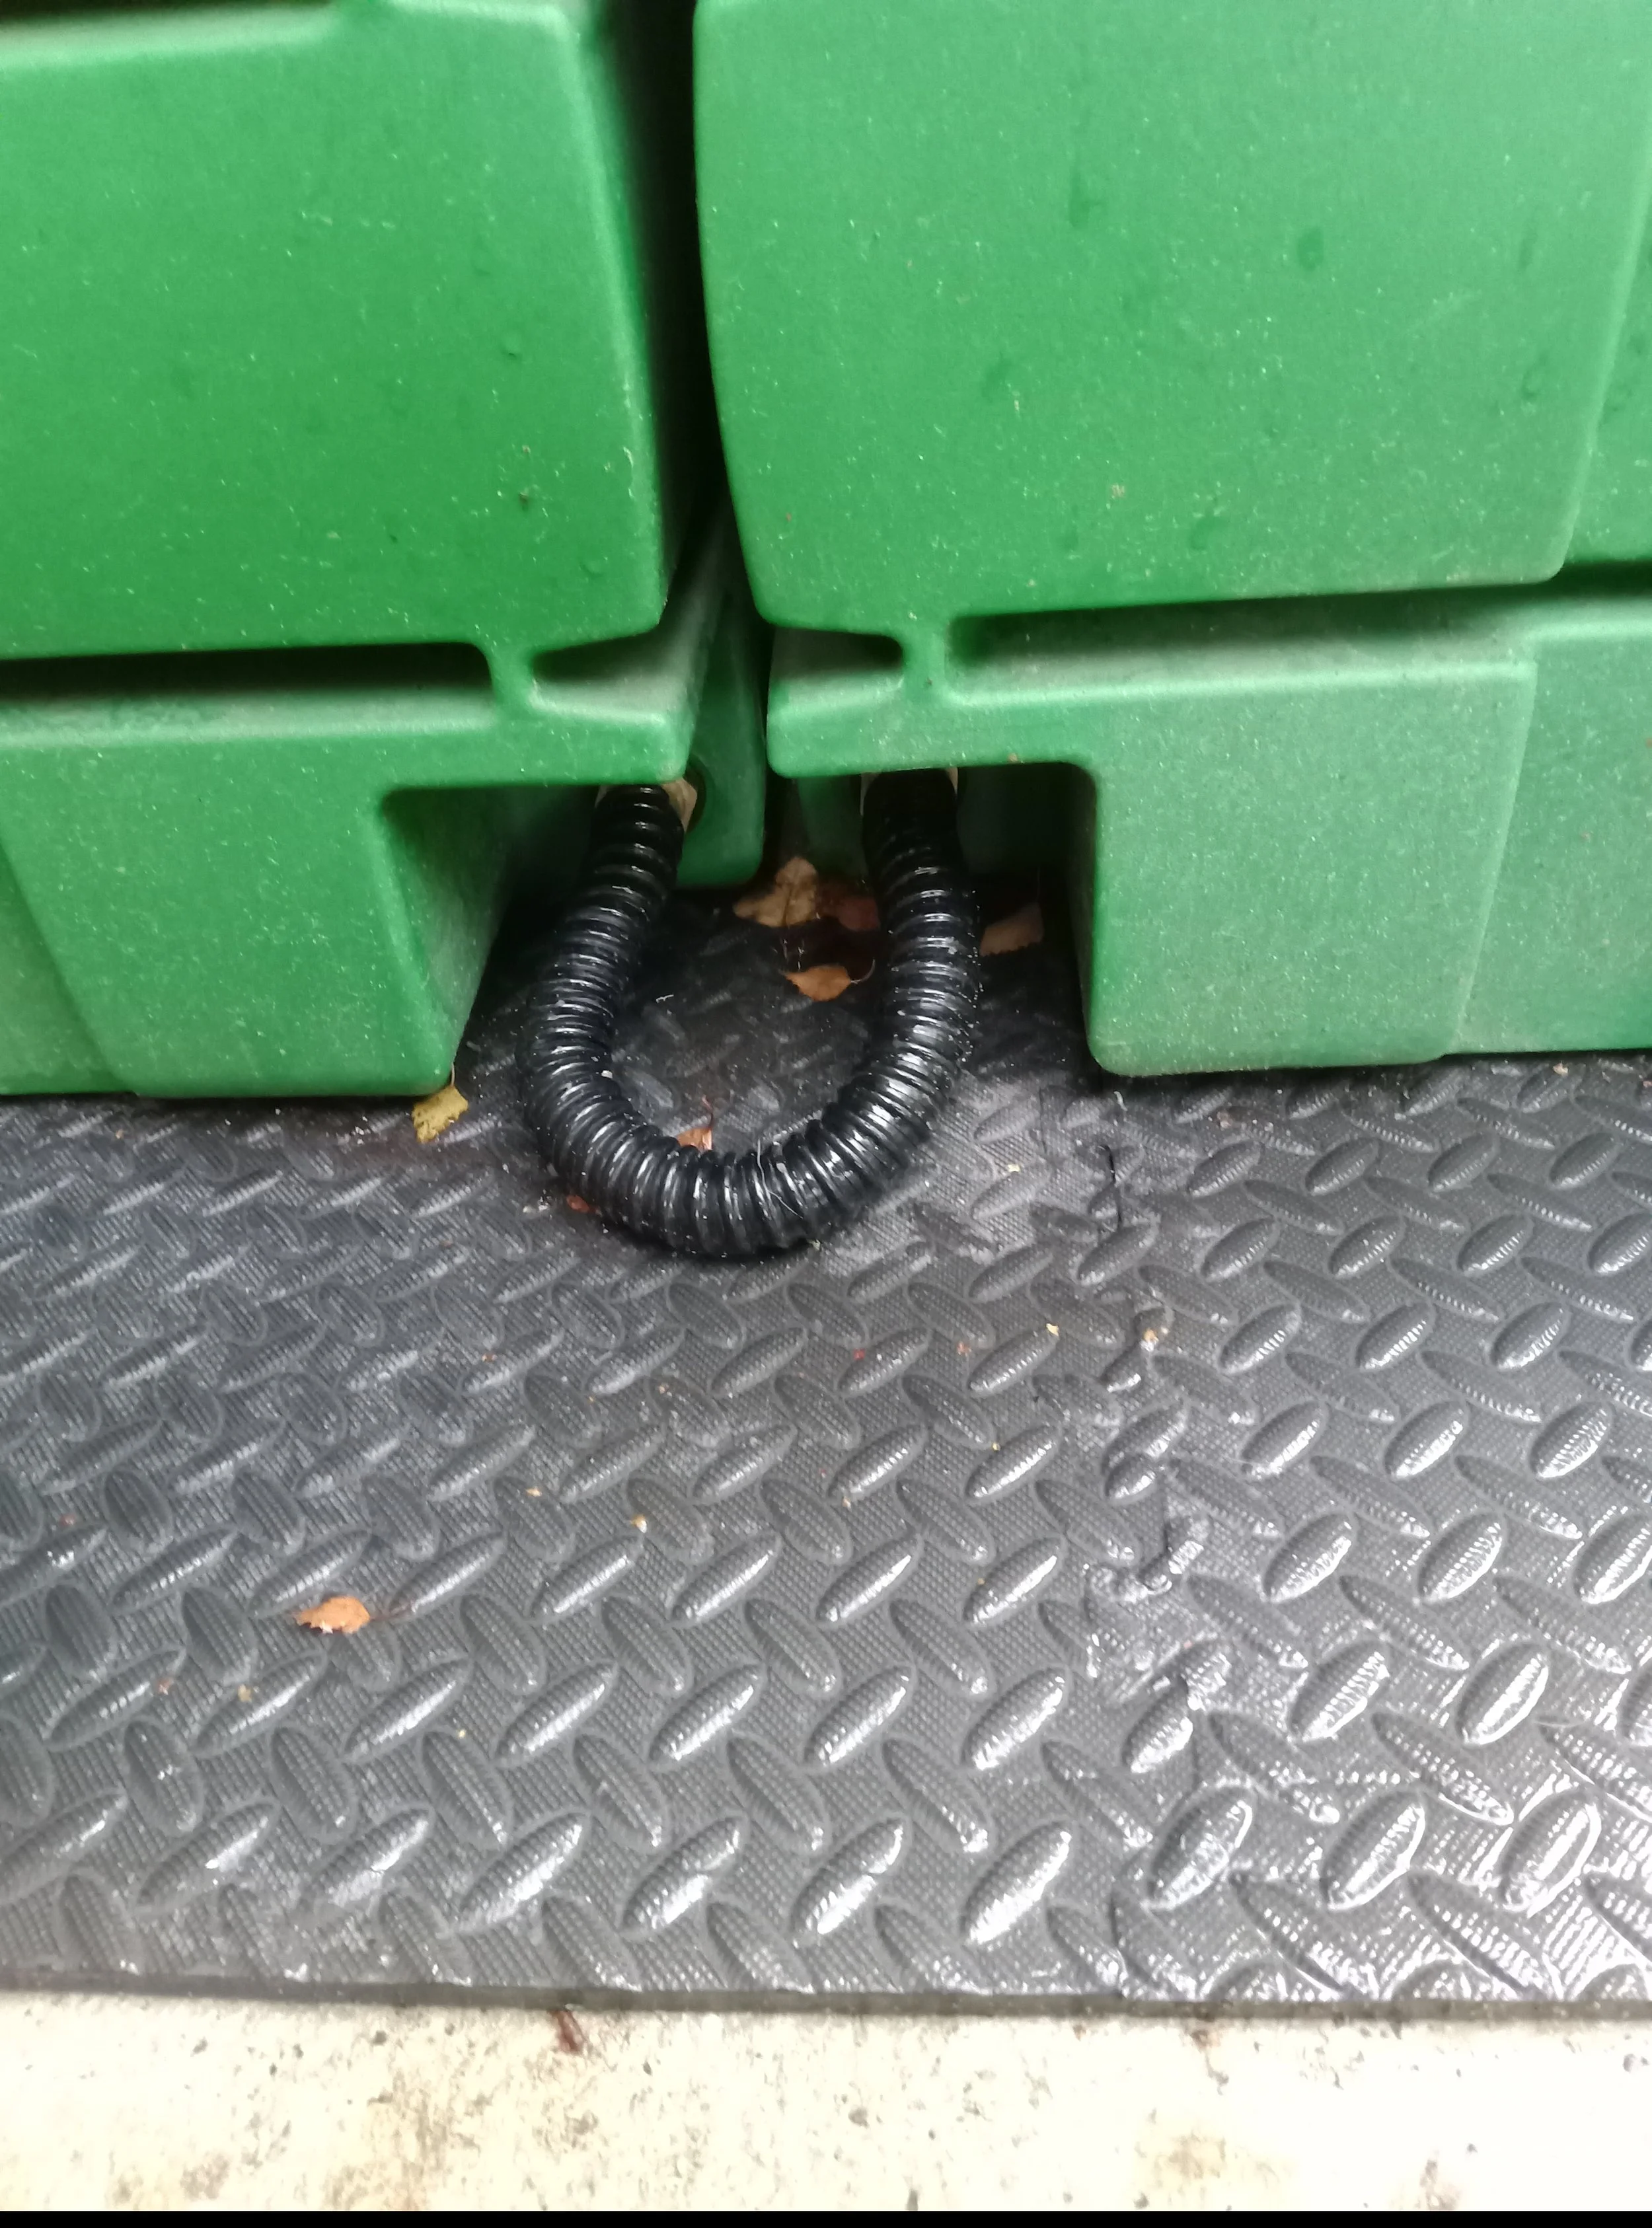
Linking the two ThinTanks
Getting the water out
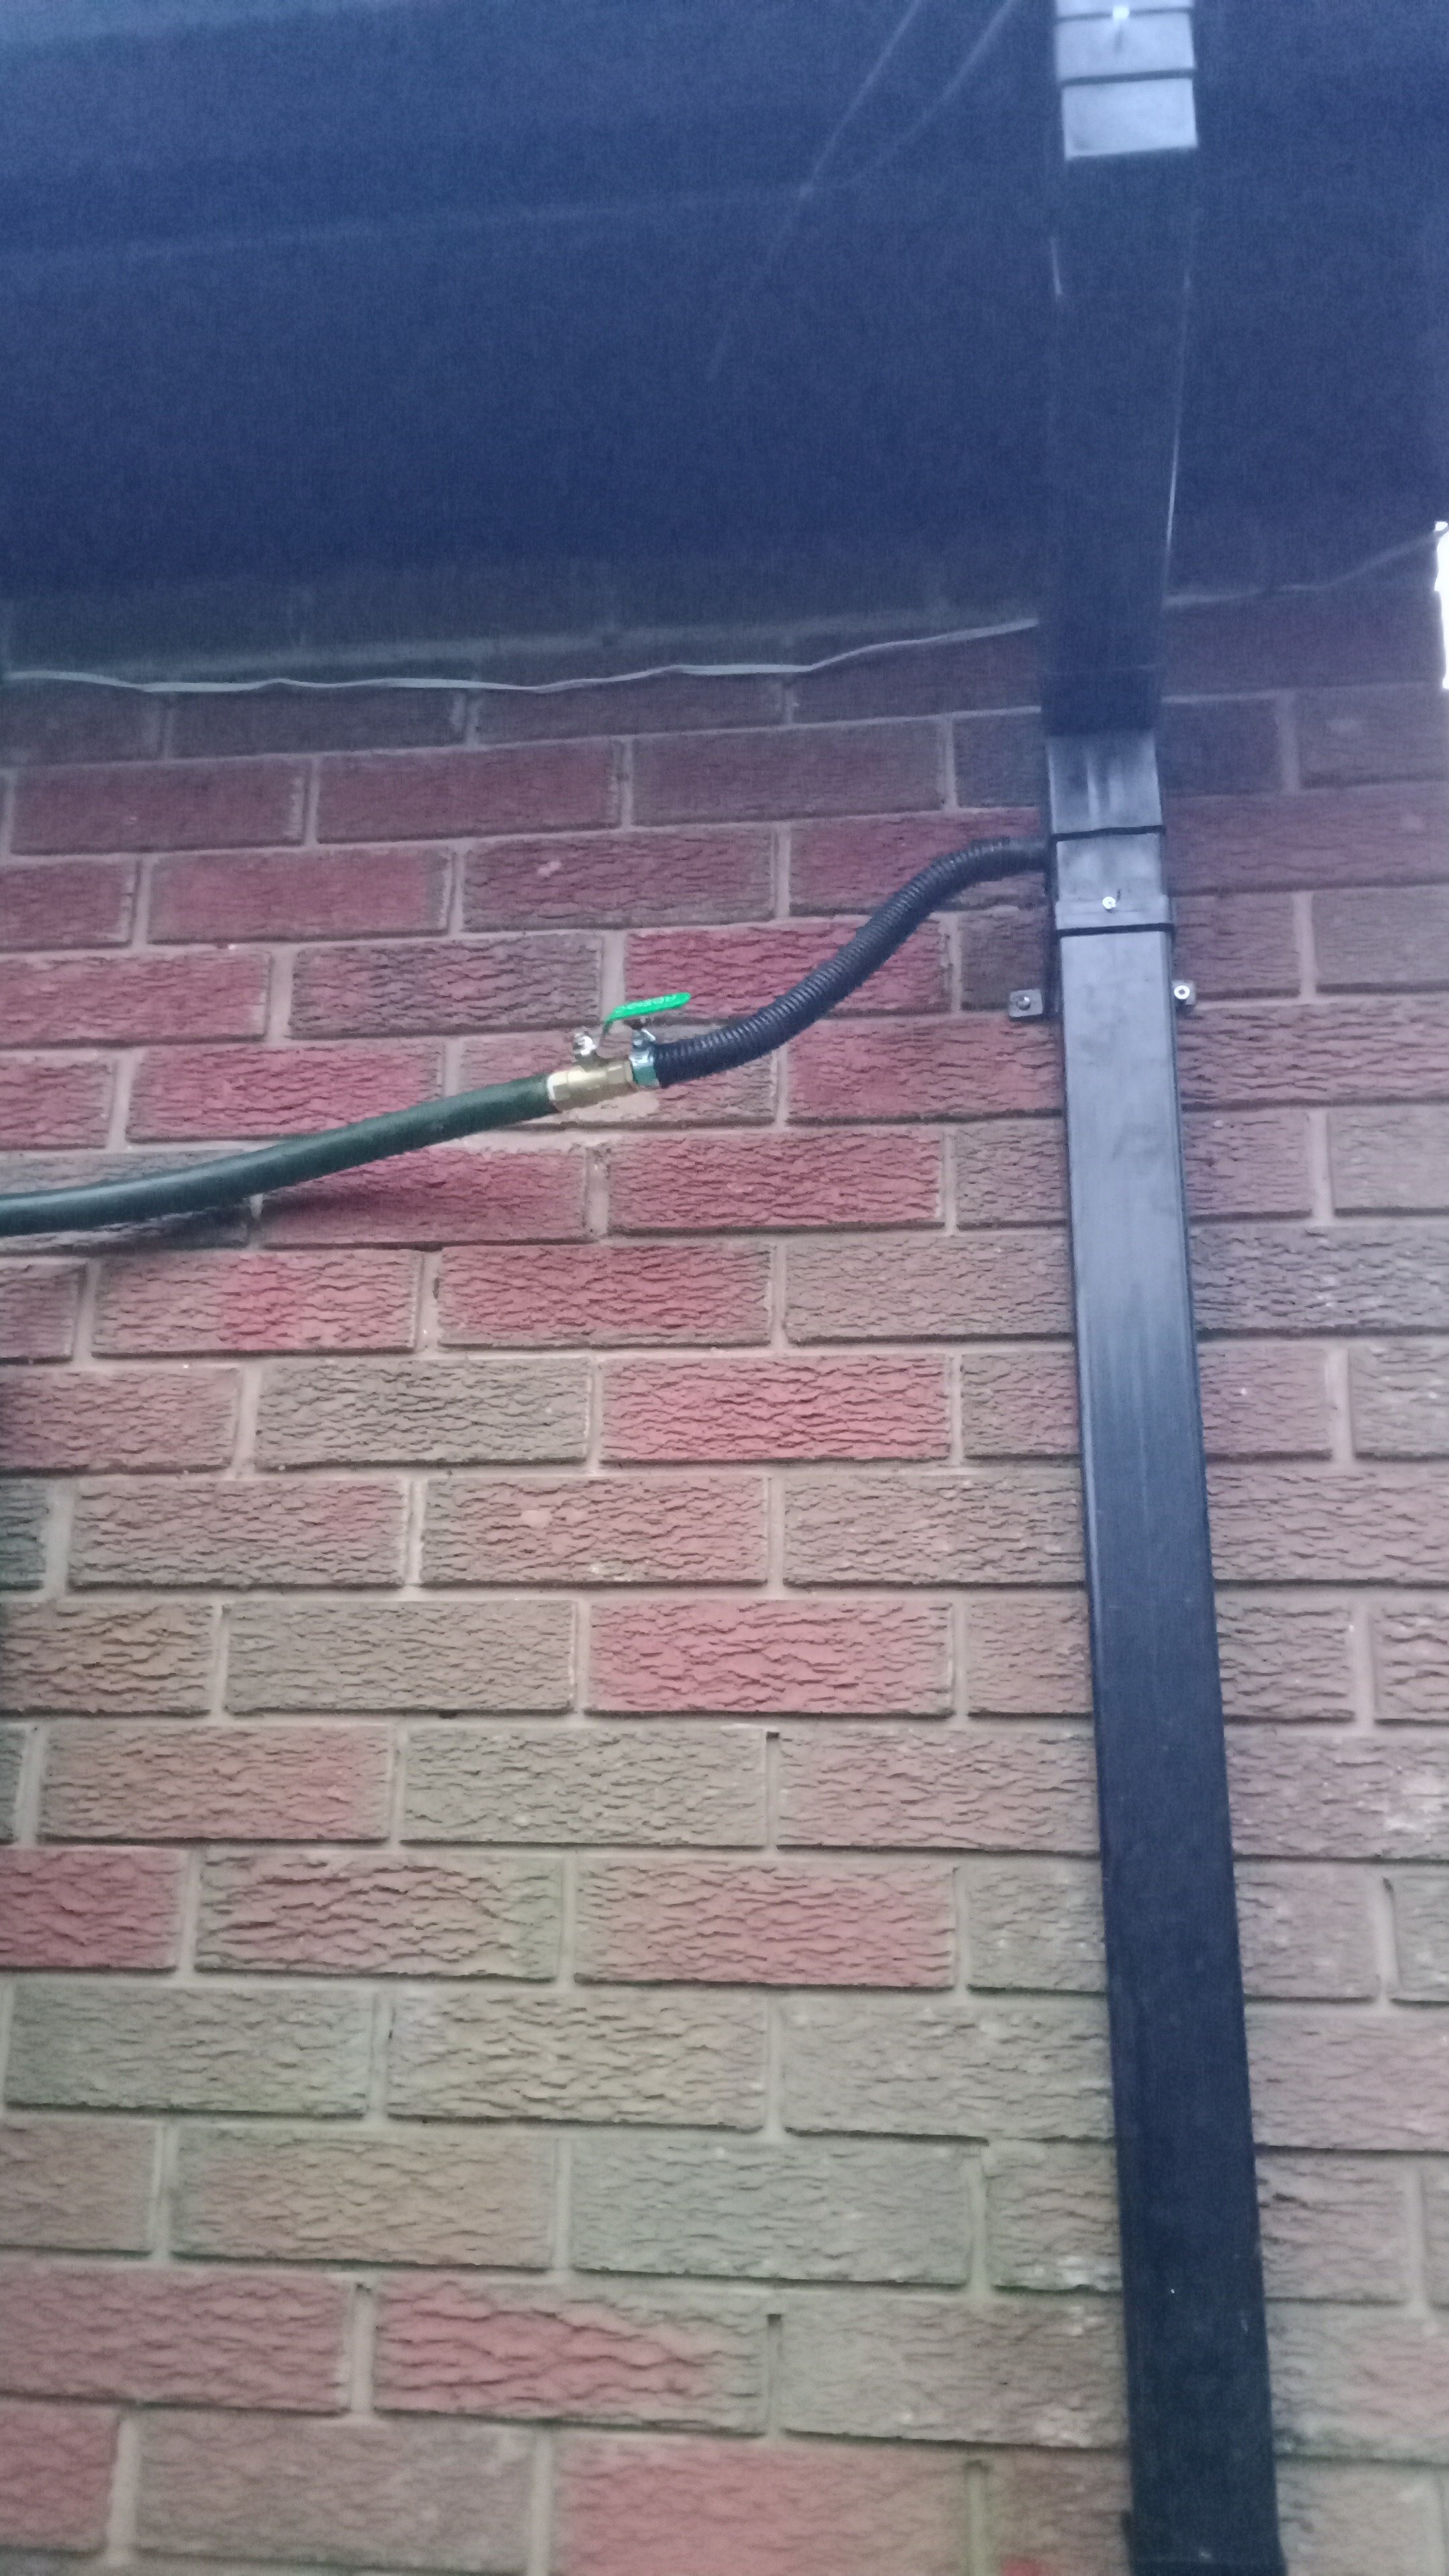
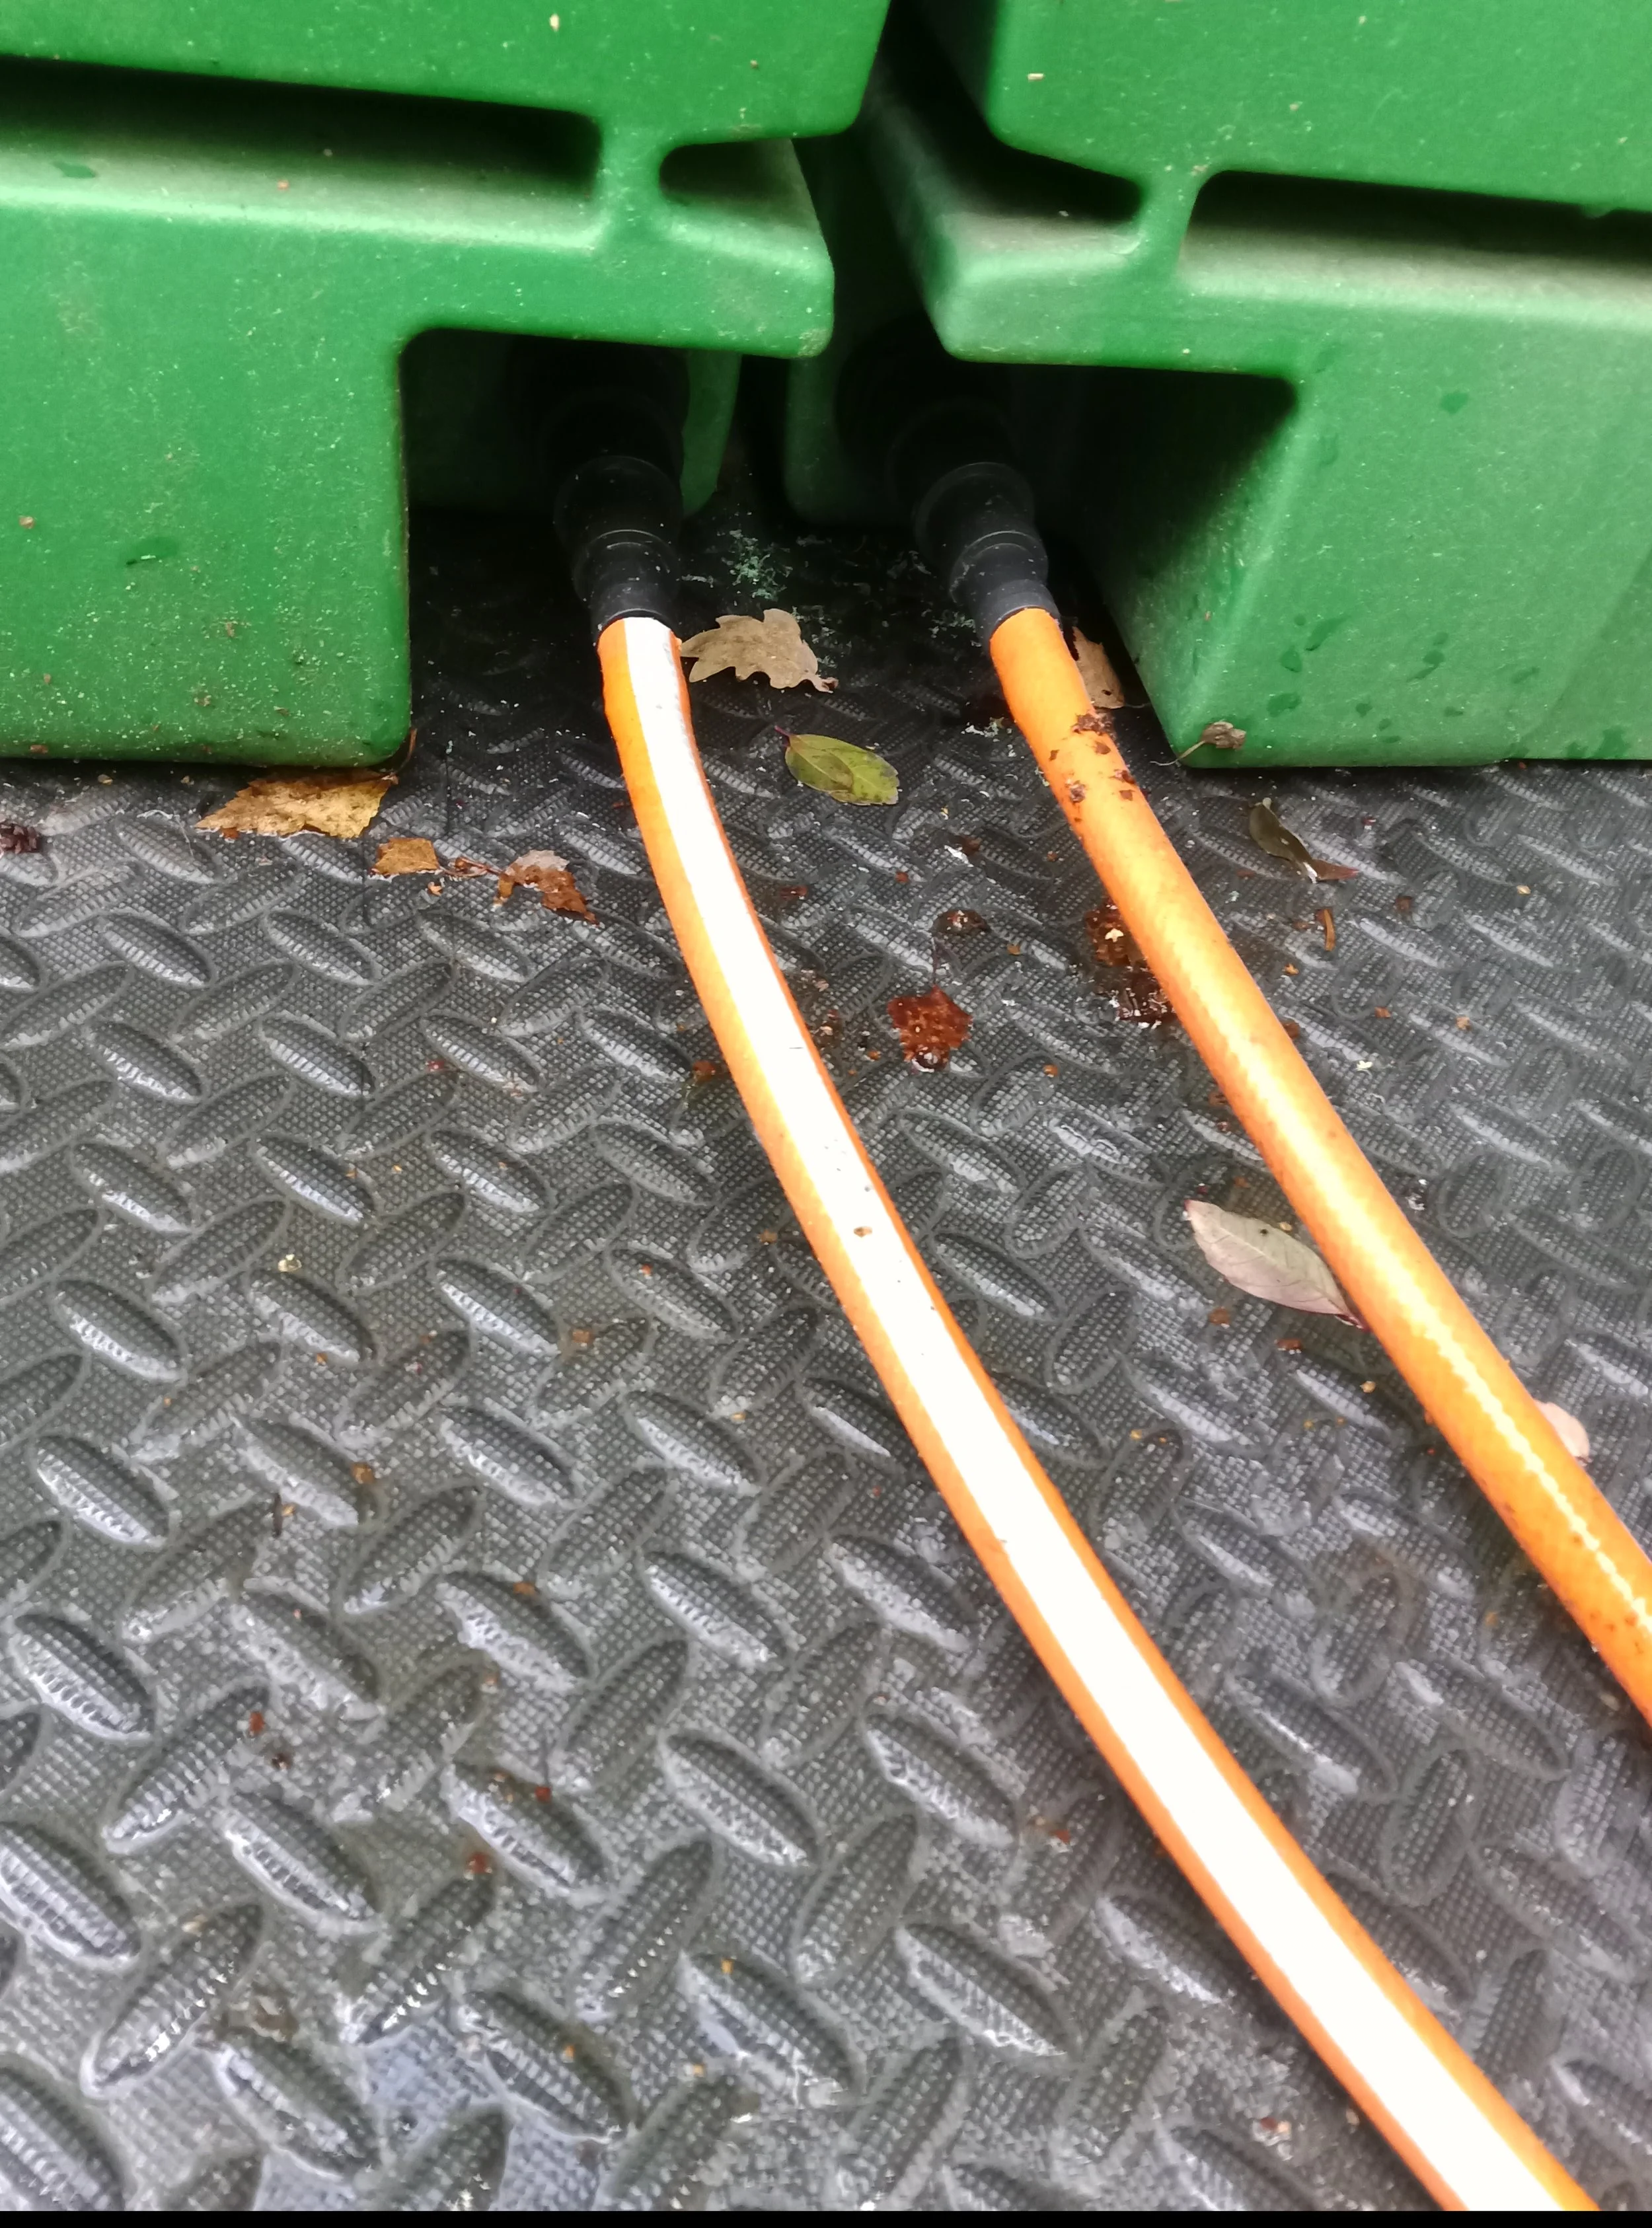
Getting the water in
Accessories
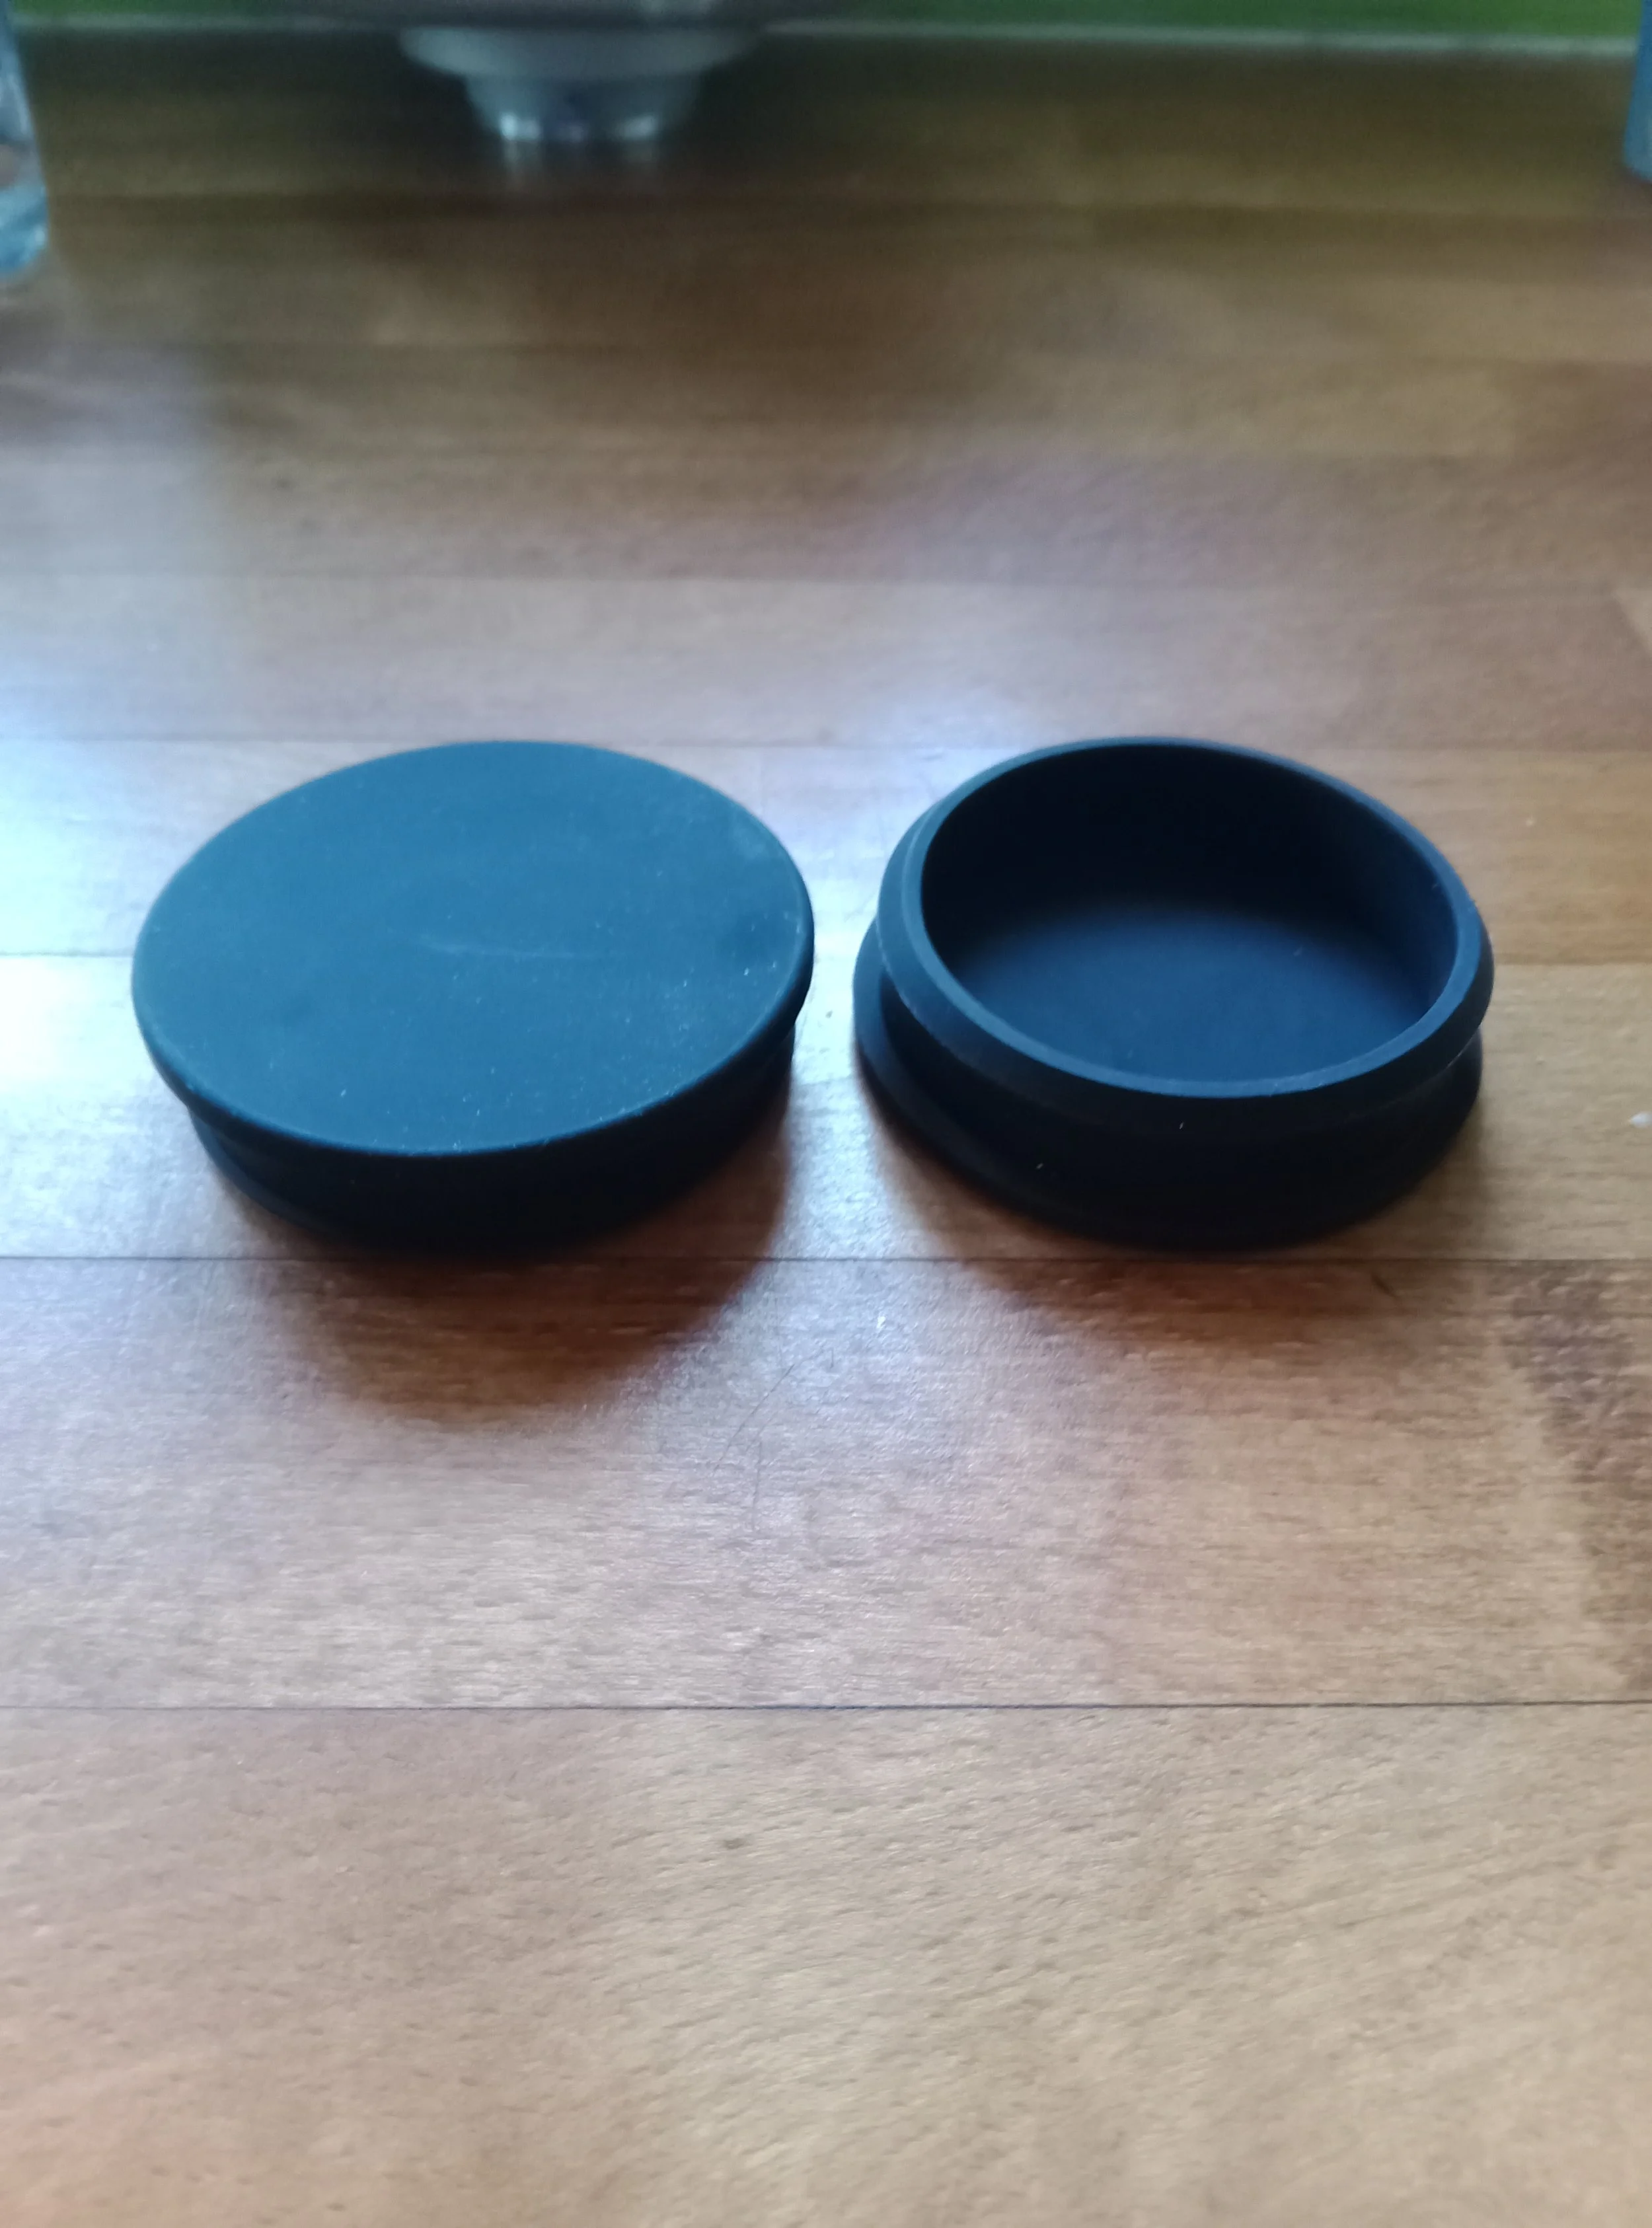
Want a stopper for the ThinTank overflow? Try TOP-VIGOR 4Pcs Silicone Snap in Locking Hole Plugs, 60.6mm Diameter Hole Stoppers, Rubber Panel Seal Cover Flush Type Panel Round for Kitchen Rubber Bulkheads Waterproof Sealing. See them on Amazon